If you are participating in the UKS blog hop, you may have come here from 3 Jolly Scrappers . Hope you enjoyed their project and didn’t forget to post a comment so that you can be in with a chance to win one of the prizes on offer.
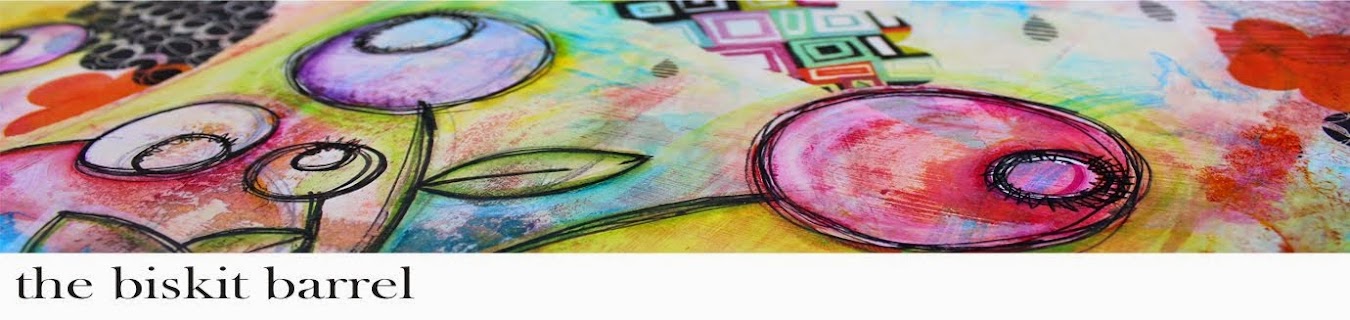
First up, if you are new to my blog, a bit fat welcome to you! I’m Vicki, owner of a sprinkle of imagination where we have a passion for memories and getting messy! Which brings me nicely to our project - an accordion art journal, although, you could use it as a mini book rather than an art journal if you preferred.
To complete the project you’ll need:
a sheet of grungeboard (you know you have some, we all got it when it came out and then said – “now what?”)
a sheet of watercolour paper – I’ve used Windsor & Newton Bockingford 14x10 inch – 300gsm. The size is the most important part, any watercolour paper will do, or you could substitute with a heavy weight cardstock. Check places like The Range or The Works.
Claudine Hellmuth Studio Paints
Brushes and plastic palette knife
Ranger Craft Mat
Liquitex Acrylic Inks
Jenni Bowlin Paint Dabbers
Liquitex Gel Medium & Gesso
Stencil of choice
Waxed Thread and a charm
Stampotique stamps
and lastly – an old gift card.

Start by applying a thin coat of gesso to both sides of your watercolour paper and grunge board. Using an old gift card will help you get a thin coat. Let it dry on one side before you do the other.

Once the gesso is dry, apply some gel medium through a stencil with a palette knife (easier to get the gel out of the pot that way as well) in patches to create some texture for your backgrounds. I used the Crafters Worskhop small circle grid, a big favourite of mine at the moment. You’ll notice that the dots left on one side were a bit black as lazy me hadn’t cleaned off the black paint from the last time I used it. Again, you’ll need to let it dry before you do the second side.

While you’re waiting for everything to dry, select the colours you want to use to create your backgrounds. Add a little water to a small amount of paint and create a colour wash over both sides of the water colour paper and the grungeboard. You’ll notice that the dry gel medium will create a resist. If you want the resist to stand out more, then you can dab the still wet paint off, or if it’s started to dry, use a baby wipe or a slightly damp cloth to lift the excess paint off. Keep applying the paint until you are happy with what you have. Tip – use complimentary colours to avoid a muddy outcome.


The next later on the page is created by drawing circles with the Liquitex Acrylic Inks, if you are worried about getting round circles then you can always use one of the basic circle stencils as a guide to help you. Acrylic Inks come in dropper bottles so I just used the dropper to draw with.


This is the point where the size of the watercolour paper is perfect for working with the grundgeboard. Fold the watercolour paper in half – lengthways, and then cut it in half.

Next, score and fold each half at 3 1/4 inch intervals. You’ll have a small excess at the end, cut this off ONE of the lengths. The stick the two pieces together with gel medium, using one of the short lengths to overlap them. This will then make one long accordion piece.


I’ve cut window in some of my pages, so if you want to do the same, this is the time to do it as it’s easier than when it’s stuck on to the cover.

The grungeboard is to form the cover for your book. Lay it down lengthways and find the centre, then mark half and score across the short side a half an inch either side, giving you a one inch wide spine for your book.

Before you adhere your pages into your book, using a 1/16th inch punch, punch two holes in the back cover for the wax thread to go through and create your closure.

I’ve used a 1 meter length of red waxed thread, may seem a lot, but it will wrap around your journal three times to make an attractive closure. Wiggle the thread until you are happy it’s in the right place, then stick the last page of the accordion to the back cover with gel medium and let it dry. You can then wrap the thread and decide where to add a charm. To do this create a lose knot and add a charm to a jumping, thread through the know and tighten.

You’re now ready to decorate the book, adding photo’s, or in my case stamped images and some doodling ready to add your journalling.


Hope you’ve enjoyed the project and feel inspired to have a go! If you do, please leave us a link so we can come and see your version.
Now a chance to win prizes!
If you’re a member on UKScrappers, and leave a comment on each blog TODAY you’ll be entered for a chance to win a prize, remembering to include your UKS ID so we know who you are.
Anyone posting a comment here will also be entered in with a chance to win a set of Claudine Hellmuth Mini Studio Paints and a winner will be chosen at random on Wednesday.

Next to visit is A Trip Down Memory Lane.
If you get lost along the way you can go back to UKS and find the full list of blogs taking part here